Muffins are a relatively new discovery to me (we don’t even have an exact translation to Italian), but it didn’t take me long enjoy them. They are so easy to prepare, they bake quickly, and they make the perfect treat or breakfast on the go.
I found a few allergy-friendly recipes on Pinterest, but none of them was quite right for us, so it took me a few experiments to get the flavor we liked with the ingredients we could eat with no trouble.
Keep in mind that my favorite way to make them includes eggs–one of the few problematic foods that we have no trouble eating. Eggs are one of the best source of choline, an essential nutrient, so unless you avoid them due to allergy or ethical reason, I would encourage you to try the recipes with fresh, pastured eggs. Otherwise, an egg replacement might produce a similar result.
1. APPLE GINGER MUFFINS
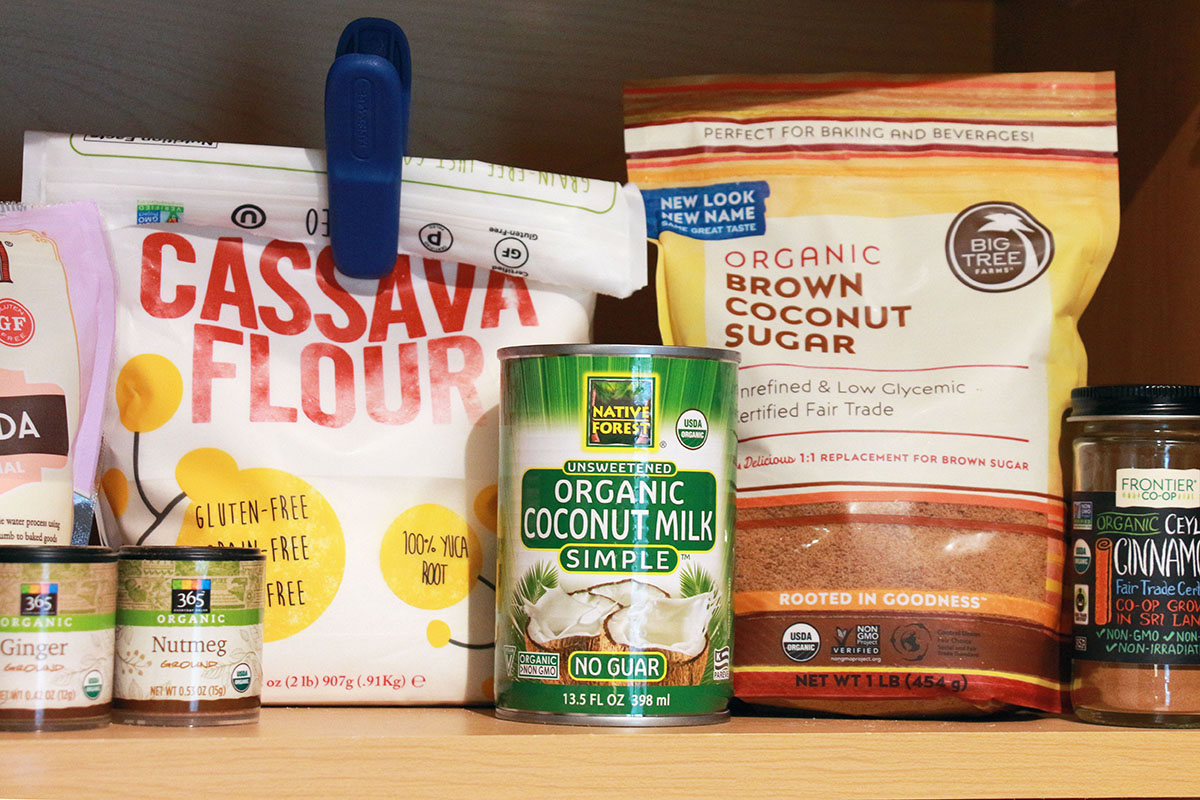
My husband loves apples, so the idea of adding little juicy apple chunks and Fall spices was a winner. I decided on a base made entirely of cassava flour because it is the only gluten-free, store-bought flour we do well with (we have recently reduced our nut consumption). It is also very easy to work with because it doesn’t crumble like nut flours ( cassava is like the whole purpose flour of the gluten-free world).
A FEW NOTES ON THE INGREDIENTS
The spice amounts listed were my starting point. I doubled them under my hubby’s request for a little extra spice and aroma. In case you’re wondering, I didn’t include clove because it tends to be a bit overpowering. Nutmeg, ginger, and cinnamon make the perfect combo. You could, of course, use fresh ginger instead of powder, but fresh ginger can be a bit too spicy for some people, so I prefer to use powder, which has a more mild flavor.
I have baked these with less sugar (1/8 cup) and I enjoyed them. I went up to 1/4 to make them a crowd pleaser, but people who are used to little to no sugar at all would enjoy them with 1/8 cup as well.
For the coconut milk (which you can totally sub with another milk if you are allergic to coconut), I prefer the Native Forest Simple Coconut Milk. Although it is a little more expensive than the other varieties, it is free of gums, which tend to be problematic for people with gastro-intestinal issues. Don’t ask me why we have to pay more for a product than contains less ingredients (*shrugs shoulders*) but the only difference is in the consistency. I shake the can before I open it and I store the remaining milk I don’t use in a glass container in the refrigerator (good for up to 4 days, according to the can label). I can typically bake two batches with one can.
I tried to link all the ingredients for your shopping convenience, but I was unable to link a few of them because they were either unreasonably more expensive online or not available at all.
- For applesauce, I like the Natural Nectar Biodynamic and USDA Organic Brittany Apple Sauce. I but it at Whole Foods (it goes on sale often) and it’s the only applesauce I can eat on its own because it tastes like fresh, puréed apples.
- For sea salt, I prefer Redmond Real Salt Ancient Fine Sea Salt. I linked it to Amazon, but it is usually much cheaper at my local grocery store.
Ingredients (makes 12 muffins)
- 1 1/2 cup of cassava flour
- 1/4 cup coconut sugar
- 1/2 tsp baking soda
- 1/4 tsp sea salt
- 1 Tbsp of cinnamon powder
- 1/2 tsp of ginger powder
- 1/2 tsp of nutmeg powder
- applesauce 1/2 cup
- 1 cup of chopped apples
- 3 mashed bananas
- 1/2 cup of coconut milk
- 1 Tbsp vanilla extract
- 3 eggs or flax/chia “eggs”
2. BANANA CHOCOLATE CHIP MUFFINS
This is our chocolate variant. It’s very similar in texture despite the fact that I don’t add applesauce to it. For the chocolate chips, I use Equal Exchange Organic Chocolate Chips Bittersweet, which I buy at Whole Foods, and I typically add half bag.
Ingredients (makes 12 muffins)
- 1 1/2 cup of cassava flour
- 1/4 cup coconut sugar
- 1/2 tsp baking soda
- 1/4 tsp sea salt
- 1 Tbsp of cinnamon powder
- 1/2 tsp of nutmeg powder
- 1 cup of chocolate chips
- 3 mashed bananas
- 1/2 cup of coconut milk
- 1 Tbsp vanilla extract
- 3 eggs or flax/chia “eggs”

Directions
- Pre-heat the oven at 350 F° and line your muffin tin.
- Mix all the dry ingredients and all the wet ingredients separately, then combine them. You could use a processor to combine all the ingredient–I just use my elbow power and a large spoon and they turn out fine (one less thing to clean!).
- Pour the batter into the tin and bake for about 30 minutes or until a fork placed into the muffin comes out clean.
- Cool off and serve :)
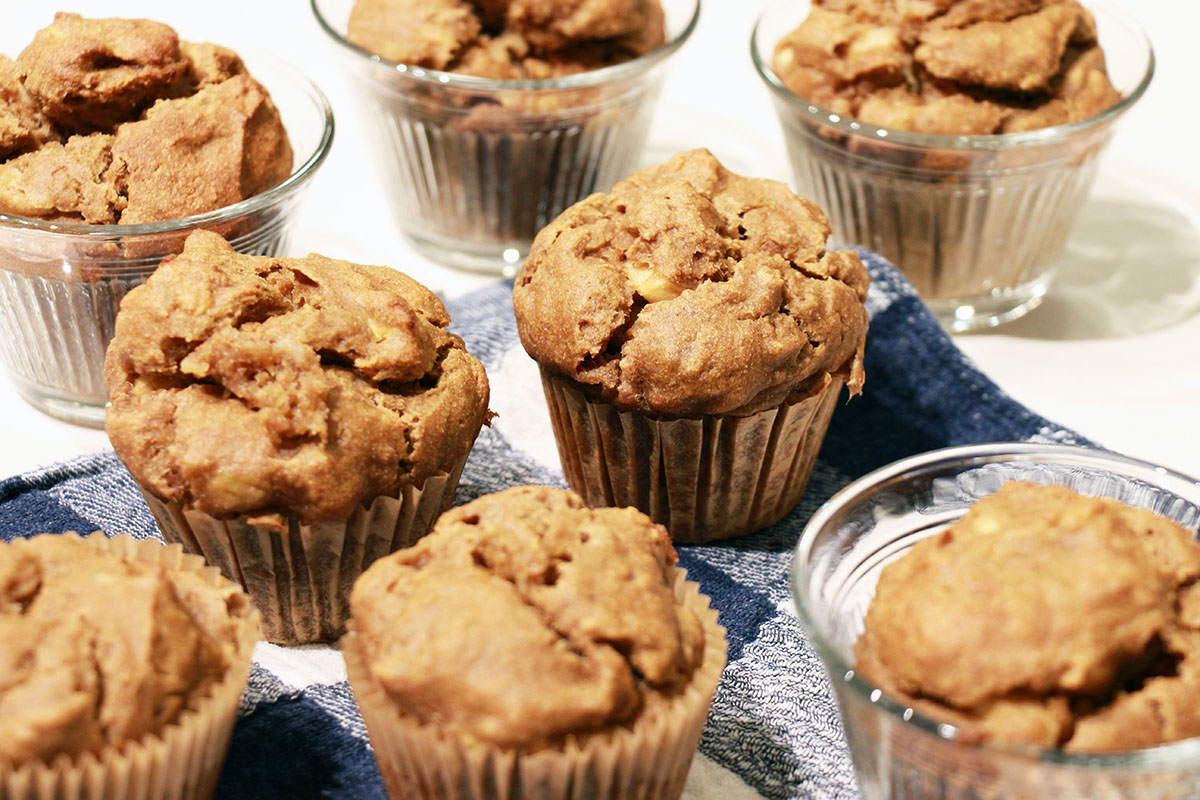
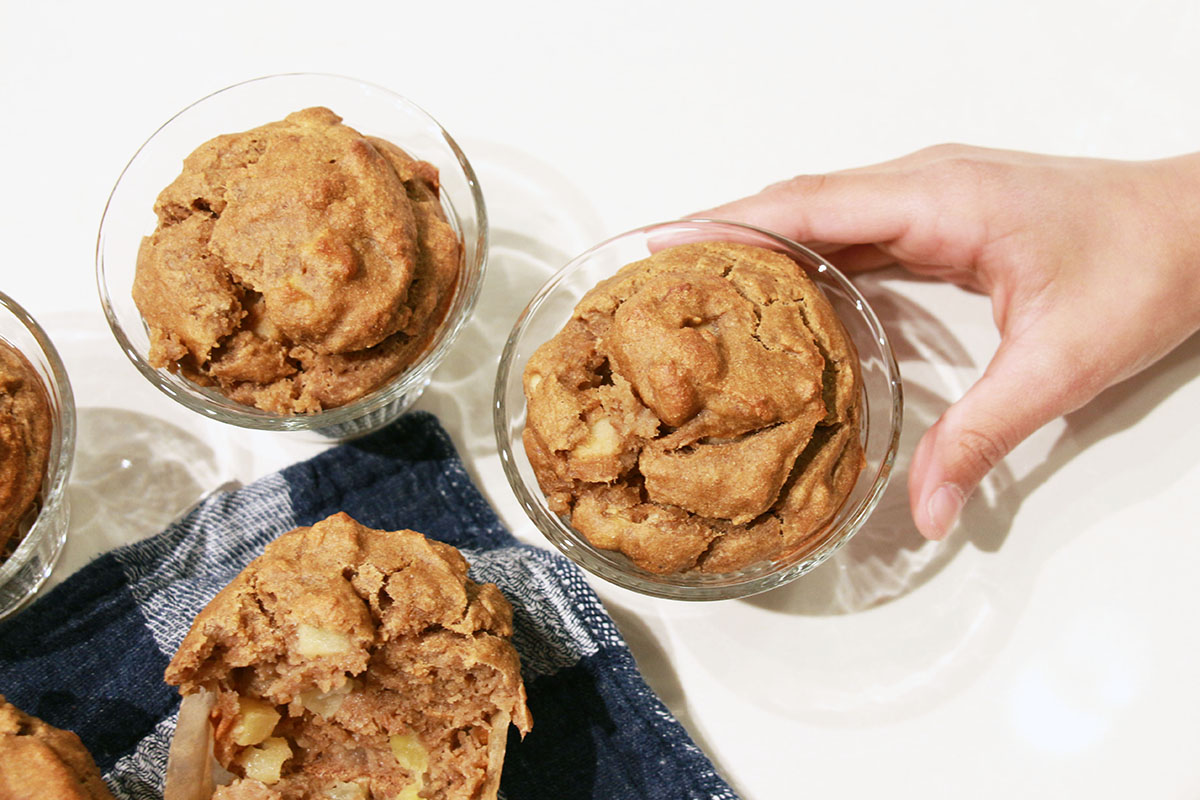
MY GLASS MUFFIN TINS

I could not wait to show you my new favorite glass muffin tins. After we moved, I could not find my old muffin pan, and I could not find a replacement. I really wanted a glass one because glass is a safe material to bake in and an easy one to clean, and these individual tins were the best I found. They come with lids, so once the muffins/cupcakes have cooled off I sealed them with a lid and store them in the fridge. They are perfect to carry the muffins in (perfect as breakfast on the go!).
The only challeging aspect of baking in these tins was to find the proper way to sit them on the oven racks, but once I figured that out, it was all smooth! I place them at the intersection between the middle horizontal line and the vertical once, so the glass is supported and doesn’t lean on the side. But please, don’t be like me, try to find the perfect way to place them when the oven is NOT on :/
You can shop the glass tins here.
I admit that all my life I have always eye balled recipes–I got it from my mama. I knew exactly what she meant when she said “aggiungi un pizzico di questo” and “un bel po’ di quello” (add a pinch of this and quite a bit of that), so that’s how I cooked and baked all my life. I have tried to get better at writing notes when I cook or bake so I can share them here, so I reall hope that you enjoy! If you give these a try please let me know how you like them and give me feedback! If you are on social media, tag me!
